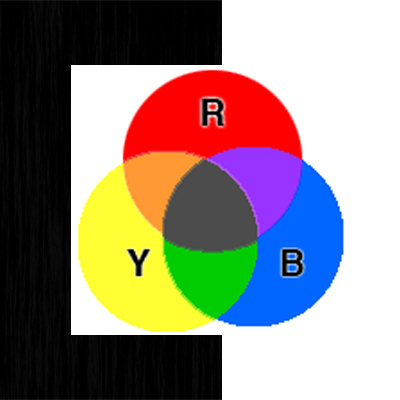
 Why are most ceilings painted white? Before we can figure that out, let’s review a bit about color. We need to go back…way back, to what you learned in kindergarten; primary colors. Red, blue and yellow are the three primary colors, these colors cannot be achieved by mixing other colors together and they are the basis of all other colors. Which brings us to black and white. Are they colors? Black is the absence of all color and therefore is not considered a color. White is the blending of all colors and is considered a color. What? You say.
Let’s jump ahead, to 8th grade science. The answer is light, vision and reflection. Objects are made of molecules and those molecules reflect or absorb light. We see the colors that are reflected back to our eyes from that surface. For example: we see a red apple because the molecules that make up the skin of the apple are absorbing the blue part of the light spectrum and are reflecting back the red wavelengths.
It’s time to run down the hall to art class and paint our masterpiece. We can mix the three primary colors together and create a very dark color. Technically you would need to add a substance such as charcoal to achieve black, but for this we will call our creation black. But, how do you create white? You can’t mix colors together and get white. Again, we create white with other substances such as chalk. Hmm… isn’t that the opposite of what we just said above?
Which brings us back to the science of light, vision and reflection. All paint colors have a Light Reflectance Value (LRV) which measures the amount of light that is reflected or absorbed by that color. The LRV value of black is 0% and is 100% for white. Which means that black is absorbing (almost) all the light and reflecting the lack of color back to our eyes. White is reflecting all the light (and color) back to our eyes and we see that reflection as the color white.
So, now we know why ceilings are usually painted white. A white ceiling will reflect all light and color back to our eyes making the room feel larger and livelier. A black ceiling will absorb all the light and color from the room giving it a dark cave like feeling.
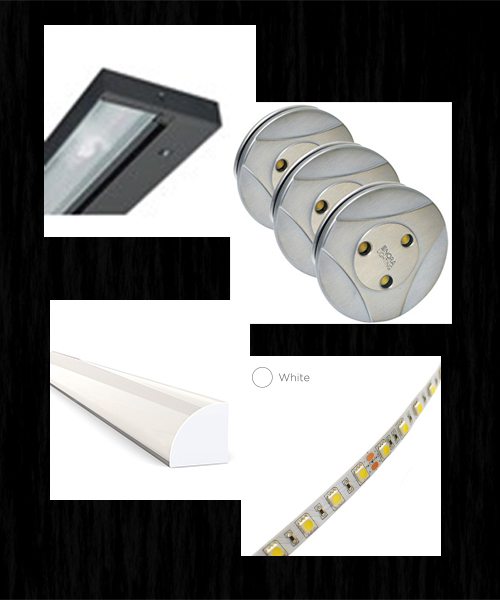 Have you noticed how many choices there are now for under cabinet lighting? It can be overwhelming at times. It used to be that most undercabs were halogen or fluorescent; you bought the length and color you needed, had an electrician install them and bam! you had light. Now you have all these choices to sort through. Let’s review a few of the choices so you can decide which works best for you.
Traditional undercabs – these are just like they used to be only now in LED. They come in various lengths and colors. Most have a high/low or on/off switch on the fixture so you can control them individually in addition to wiring them to a wall switch. They install just like the older versions and can be direct replacements. What is new; now some offer tunable LED color temperature so you have options.
Puck lights – these are the little round ones that look like hockey pucks (thus the name). They used to come in halogen or xenon only. You could buy them in kits that included the wire and the transformer. They can be recessed or surface mount. All that is the same except now they are LED and use an LED driver instead of a transformer. The LED version can be a direct replacement for the halogen.
LED strip Lights – this type of undercab is a recent addition to the mix. Strip lights require a remote LED driver, so think about where that driver can be located. By code you need to have access to it. You may need to calculate for voltage drop if the driver is far away from the strip itself. To avoid LED flicker or strobing be sure to get the type of dimmer that the driver requires. The strip should be mounted in a channel with a lens. An angle channel with a milky white lens is best, aim the light at a 45-degree angle towards the backsplash. Especially if your counter has a polished finish, otherwise you will see the LED dots reflected in the counter top.
Give us a call or stop by and we will help you work through it. Whichever choice you make, under cabinet lighting is always a good thing!
 Save yourself from headaches down the line and do your research first. That is really good advice for almost any investment that you are making. Be proactive! Whether you are replacing a single light fixture, doing a remodel, or building new; doing some research first and asking the right questions will make your project go much smoother. You can’t avoid every pitfall when it comes to construction, there will always be unforeseen issues and delays, that is almost a given!
Here are a few trips and traps to take into consideration before you begin:
Before hiring the contractor – interview them and check them out on-line. A good place to start is your State contractor board. Here is the link for Oregon. http://search.ccb.state.or.us/search/
Do some shopping – have in mind what types of lighting you want, get a budget and print spec sheets. This is good information to have on hand for the contractor interview.
Tips for LED lighting – all LED light fixtures use an LED driver to drive the LED modules. LED technology will vary from fixture to fixture, even within the same manufacturer. The LED driver may or may not be dimmable. Dimmable LED drivers can require different dimmers. Keep that in mind if you are mixing different fixtures on the same circuit / dimmer. Go over this with the contractor. Are they up to speed on dimming LED and the different dimmers and wiring required?
Traps with LED lighting – if the dimmer is not compatible with the LED driver the light may strobe or flicker when dimmed. If the LED driver requires 0-10V dimming, the contractor must pull two extra control wires. This is important to know ahead of time.
Tips for low voltage lighting – low voltage light fixtures require a low voltage transformer to operate. Low voltage transformers are either electronic or magnetic and they require different dimmers. Be sure to ask your contractor if they have installed low voltage lighting before. You don’t want to pay them extra to figure out how the system goes together.
Be aware – once you have selected the lighting, be wary of any contractor suggestions to substitute products. They may indeed have a suggestion that you like, just be sure that the substitute is compatible with the other lights and dimmers that you already selected.
With a little research before you begin your project you will know what questions to ask during the contractor interview. Plus the more you know beforehand the better equipped you will be when those unforeseen issues arise. For more information on these subjects plus more, please visit our FAQ page https://portecolighting.com/faq/
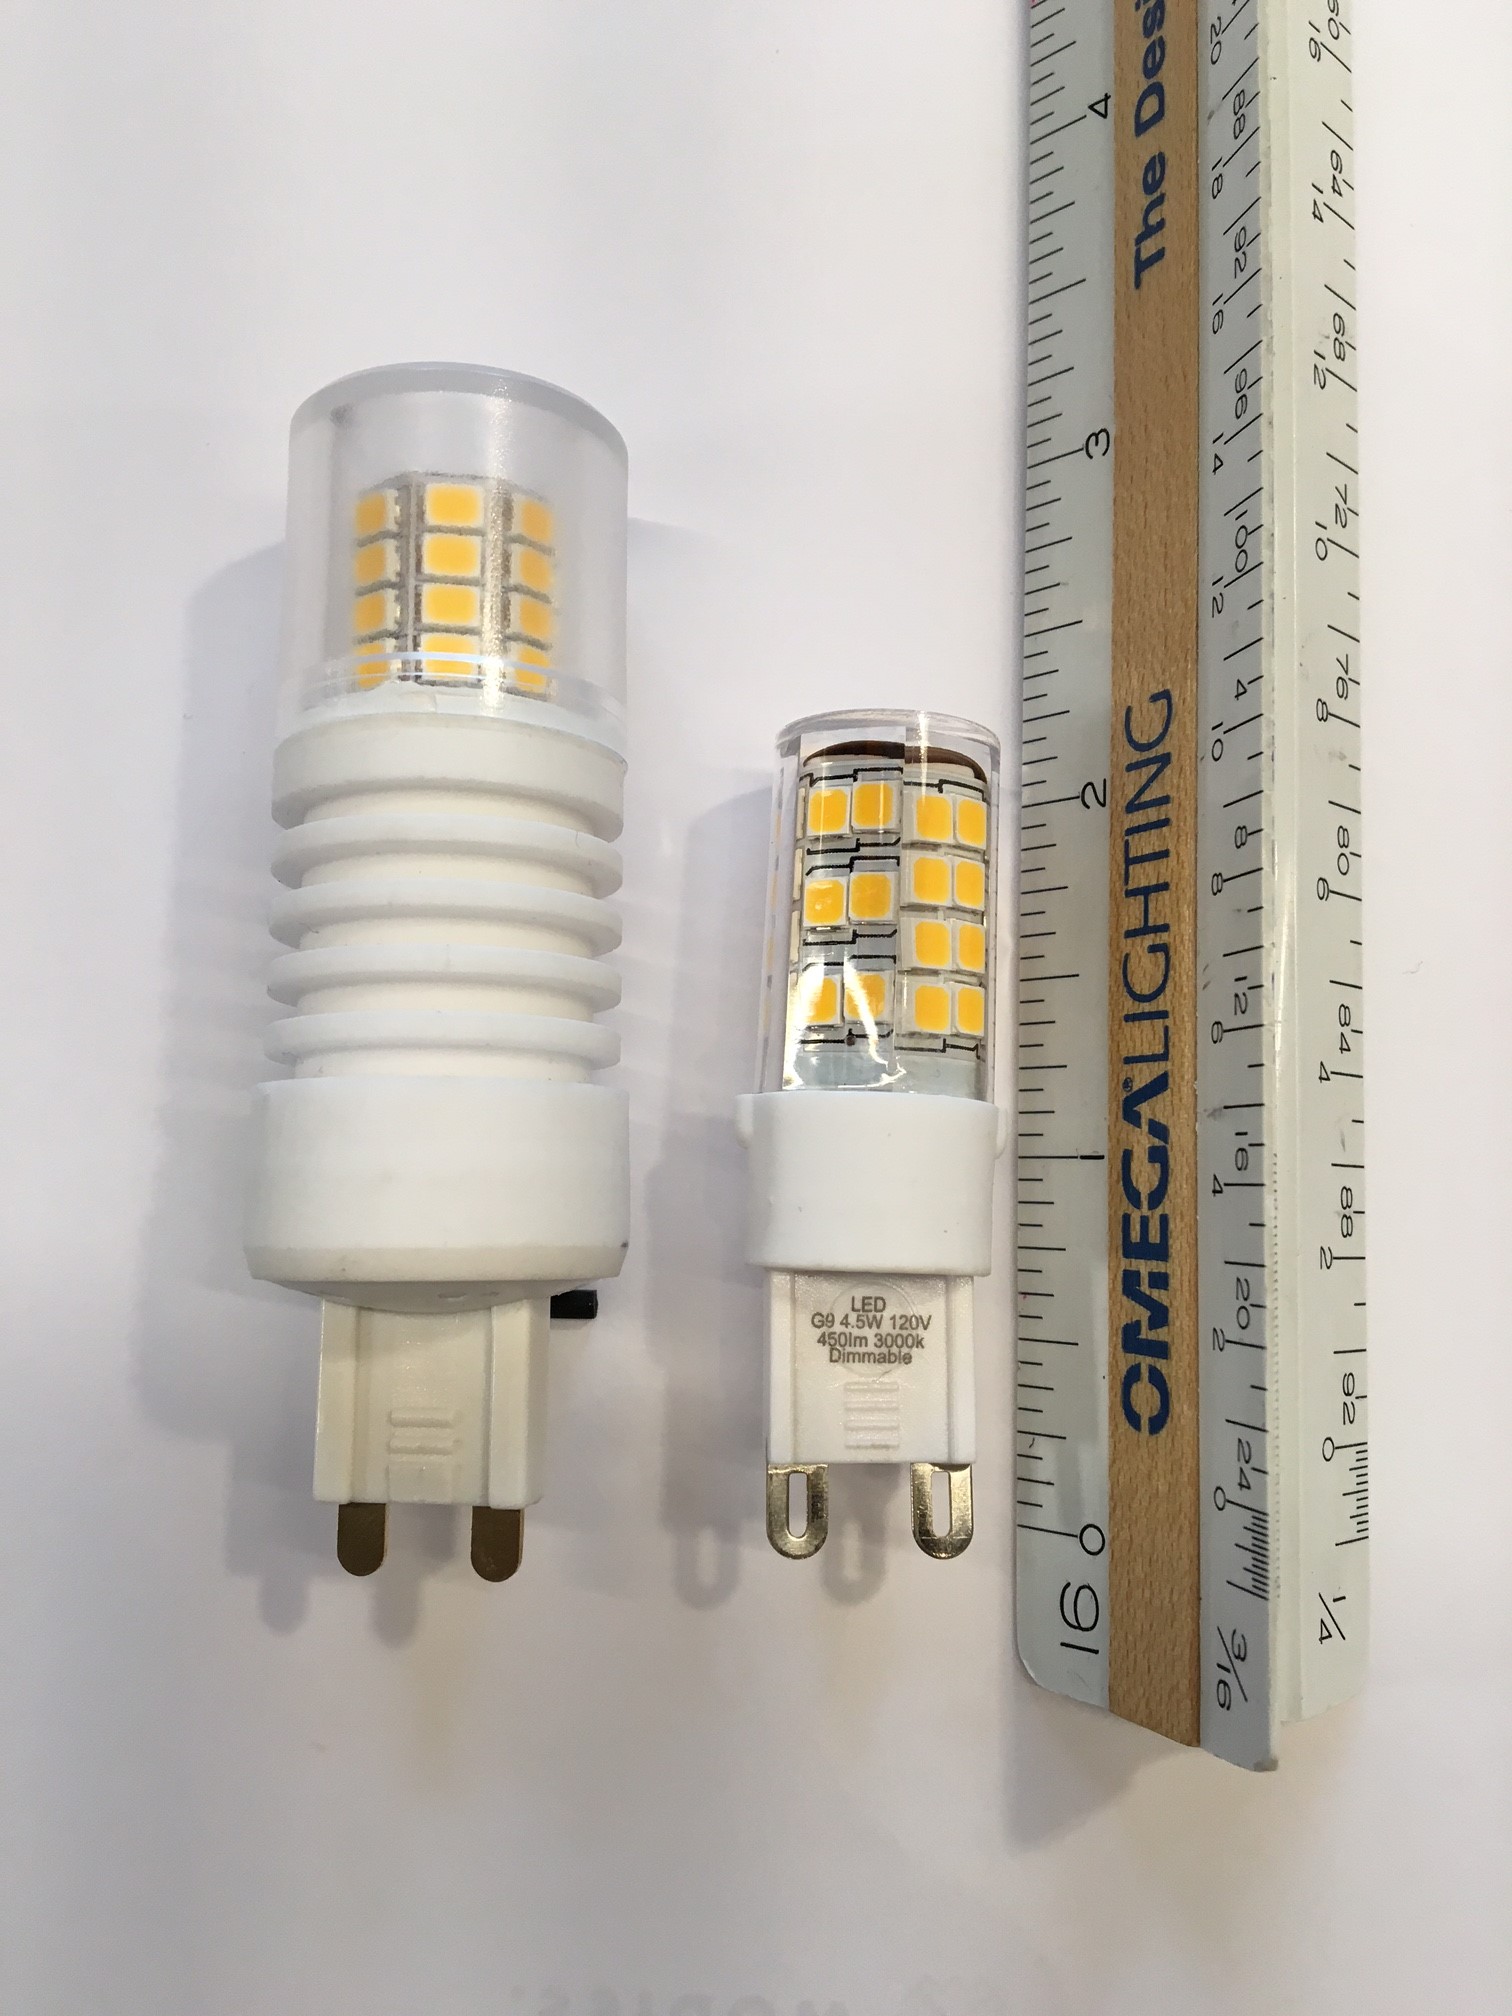 Not all LED lamps are created equal. These are both G9 LED replacements. As you can see, the one on the left is 3-inches long. It is 5 watts and is dimmable. It does fit into many wall sconces just fine but is too large for many of the vanity fixtures. The one on the right is just over 2-inches. It is 4.5 watts and is dimmable. It fits into most sconces and vanity fixtures. It is still too large for some glass and the center of light is higher than the original halogen. A halogen lamp measures 1-3/4 inches (including the pins) and it available is several wattages.
So the next time you go shopping for LED replacement bulbs, be prepared and take your measurements with you! A few more details to check before buying: double check that you have the right lamps base, voltage, color temperature, and dimmable compatibility. You will be glad you took the extra time!
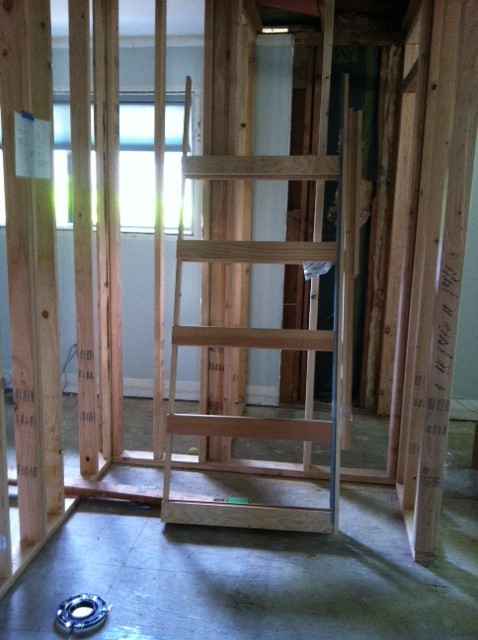
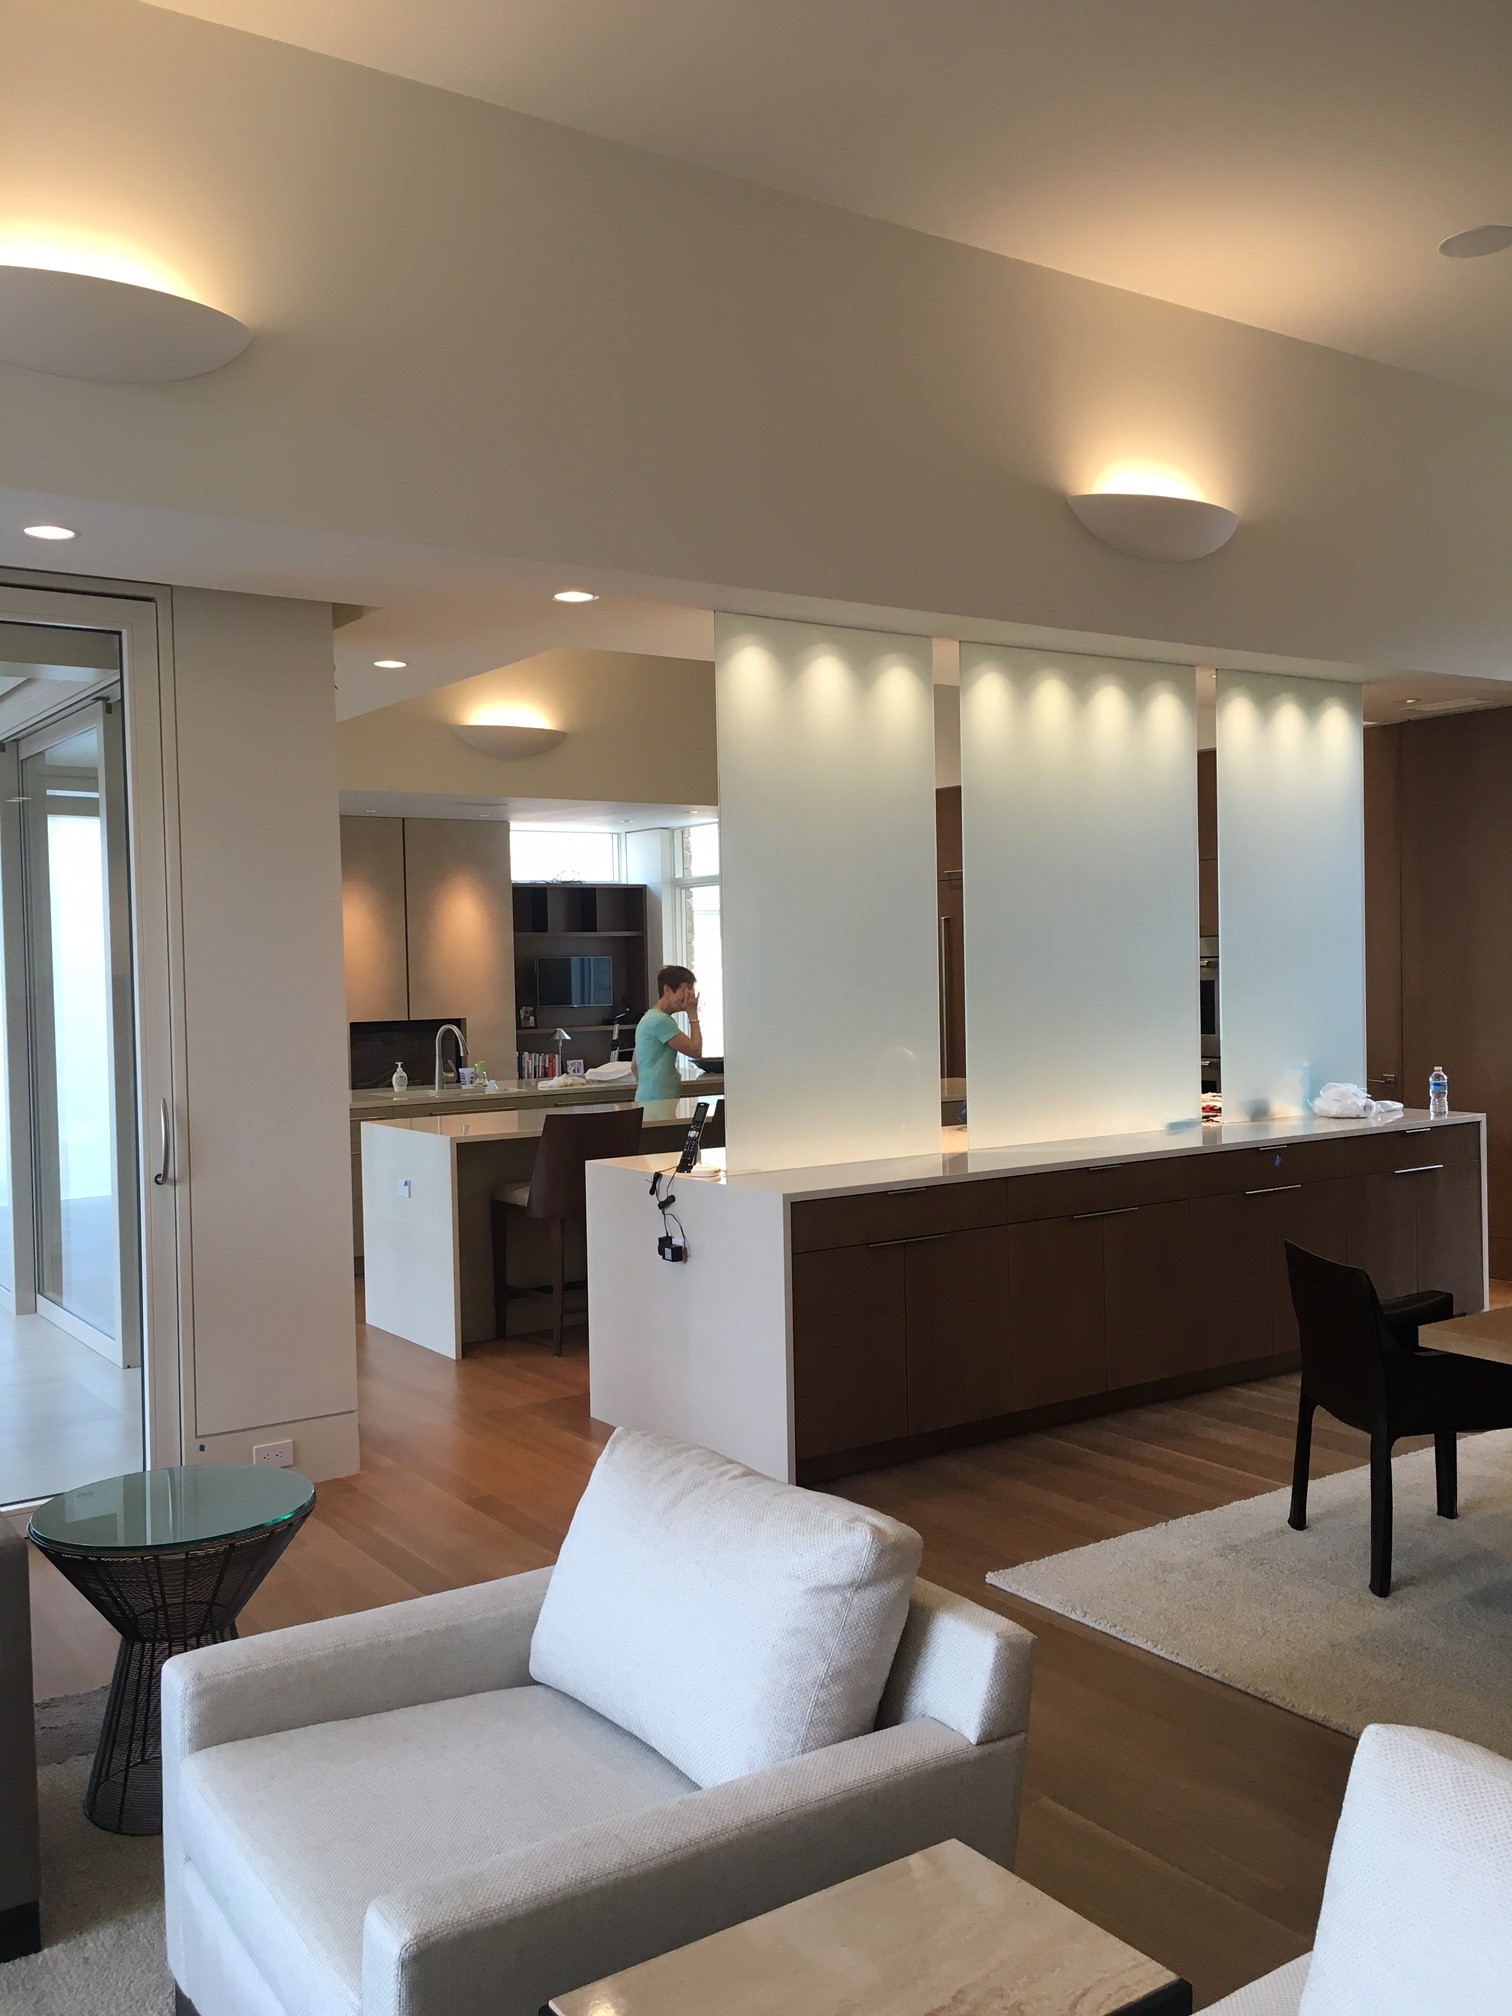 Does your room seem dark and closed in? Brightening up your ceiling and/or walls with a sconce is a great way to make the room feel larger and more pleasing to the eye. In the example pictured, we had tall ceilings that needed a punch of light to eliminate the dark cavernous feel. We used large, 2-lamp, sconces with up light (these sconces are also available with up/down light). Sconces are also great evening lights when you want the main room lights off. They cast a warm glow without glare.
 This photo is a good example of wall grazing. Notice how flat the tiles look on the wall to the left; that wall was not lit with the grazer. While the wall on the right shows the depth and texture of the tiles brought out by the wall grazer. Edge Lighting’s Cirrus Wall Grazer features a lens that provides dramatic accent lighting to highlight textured surfaces. The Grazer is available in 7-watts per foot, 85+ or 95+ CRI (depending on the color temperature), and comes in a variety of finishes. Please contact us for your next Grazing project!
 How do I know what size of chandelier should go over my table? How can I get the chandelier centered in my foyer window? Find the answers to these questions and more on our FAQ page. A new section “About Chandeliers” has been added. There are several easy to use formulas to calculate just the right size of fixture for your space. Plus we have included some helpful tips for the care and cleaning of your chandelier. Many new chandeliers have been added to the store…be sure to check those out too!
Photo courtesy of BlackJack Lighting, Seraph Chandelier
 Are you ready to get that home remodeling project started? The construction process sure can be overwhelming at times; all those decisions, so many details…materials, colors, lighting…oh, yes, we do need lighting! Not to worry, we are here to help you!
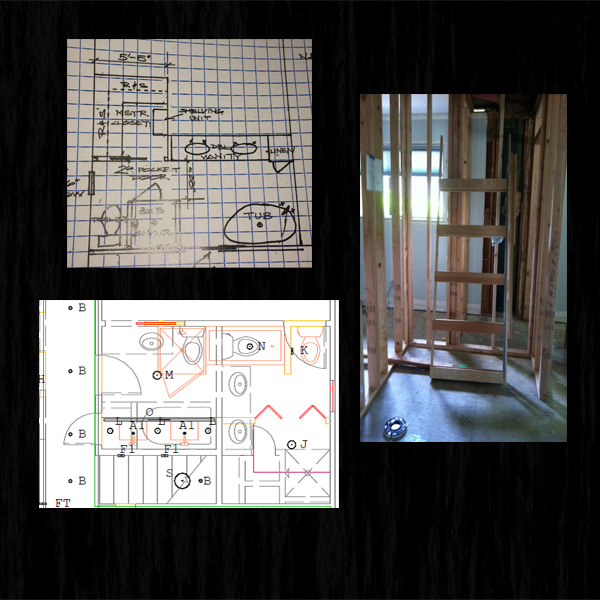
Come on by or e-mail us your ideas, plans, sketches, photos – we would love to help you hammer out the lighting details. We offer many different levels of lighting design, best of all – it is no charge as long as you purchase the lights from us. We do site visits; we will photograph the space, take measurements and help you select the perfect lights. If needed, we can generate lighting layout prints from your .DWG plans. We can also work from your photos and sketches. Be sure to include your contractor, it is good to have them involved from the beginning. Meeting with your contractor gives us the opportunity to get their input on site limitations or regulations and to discuss installation tips and traps.
When selecting lighting, the earlier in the process the better, don’t leave the lighting to the very end. Some types of lights need to be installed before the sheetrock or extra wires need to be pulled for LED dimming. Get what you want and don’t be left in the dark!
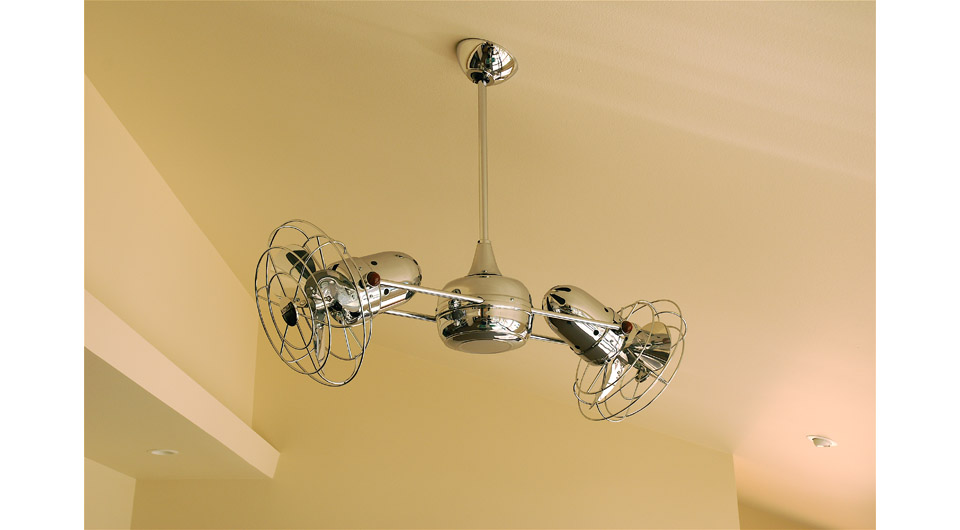 Like many other aspects of home design, choosing the best ceiling fan for your space can be daunting. There are many brands to choose from, find one that offers a style and a finish that you like. Most fan manufacturers offer several styles from traditional to modern contemporary, and many offer outdoor models. Keep in mind the scale of the fan for the room in which it will be installed.
To read more on ceiling fans, click here
Link to the ceiling fan section of our store, click here
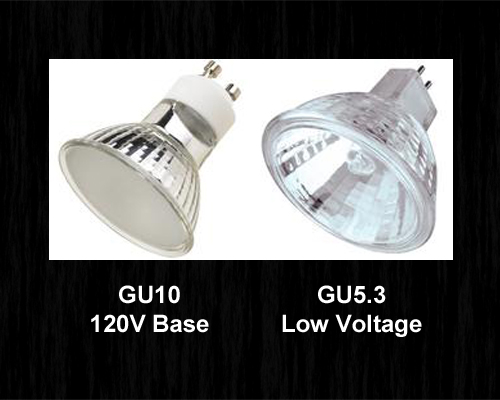 Many light bulbs go by the same name yet they are very different. Here is a quick tip to remember what is what when it comes to the MR16 light bulbs. MR16 (mirrored reflector) light bulbs are available in both line voltage (120V) and low voltage (12V or 24V). How do you tell the difference?
We like to use the Frankenstein method. If the light bulb has Frankenstein knobs like the picture on the left, it is 120V with a GU10 base. The GU10 base is called a twist and lock base. This GU10 MR16 bulb is halogen and can be dimmed with a standard incandescent dimmer. There are LED versions available.
If the light bulb has a bi-pin base, like the picture on the right. It is a low voltage bulb, the most common is 12V. The MR16 bi-pin base is called a GU5.3 base because of the width between the pins. This GU5.3 MR16 bulb is halogen and requires a low voltage transformer. The dimmer is determined by the transformer; either electronic low voltage or magnetic low voltage. There are LED versions available.
So, the next time you are buying lights bulbs just remember…Frankenstein knobs = higher voltage!
Complete List
 Web Store Posted on October 5th, 2018
 Layering Light Posted on May 8th, 2018
 The Circadian Rhythm Posted on October 4th, 2017
 Case Study Posted on June 8th, 2017
 Lumens Posted on May 11th, 2017
Categories
- New (number of posts: 3)
- Tips (number of posts: 41)
- Uncategorized (number of posts: 10)